Report Assistant Configuration
This section will guide you through configuring a Report Assistant for your data source in Seal AI.
1. Selecting a Data Source
Start by selecting a data source from your list.
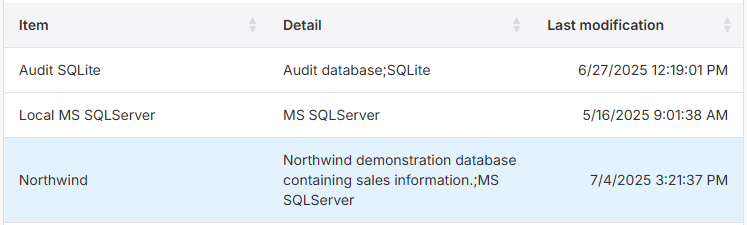
If you need help configuring a data source, refer to Data Source Configuration .
Once you select a data source, the Item Details panel will appear on the right, displaying two tabs:
- Data Source
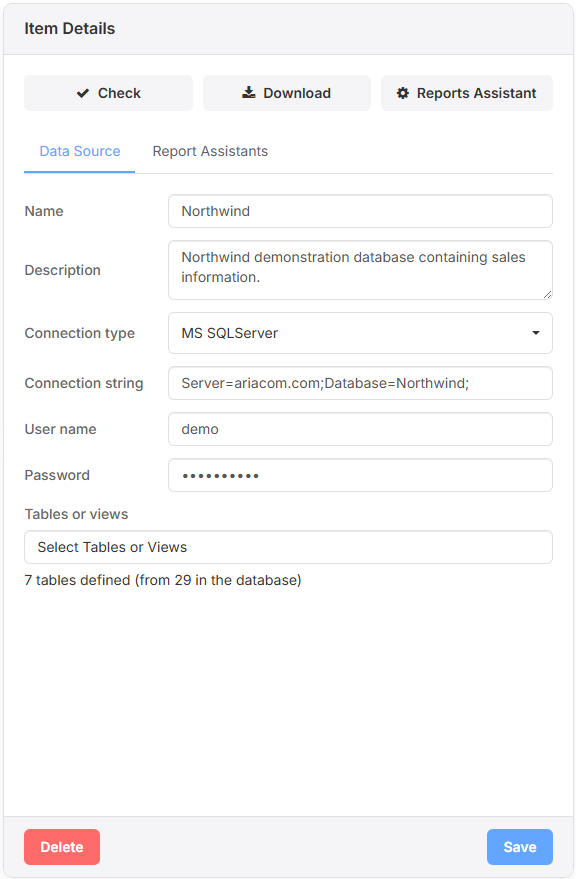
- Report Assistant
Here, we focus on the Report Assistant tab. For details about the Data Source tab, see the Data Source documentation .
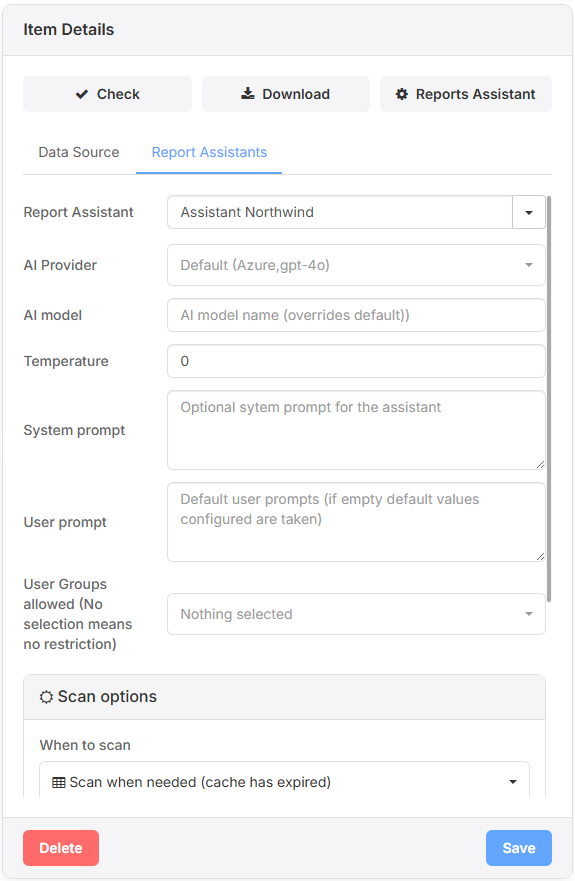
2. Report Assistant Tab Options
- AI Provider & Model:
On the Basic plan, you cannot change the AI Provider or AI Model. - Temperature:
Adjust the temperature setting to control the creativity of the AI output. Higher values may generate more creative but potentially less accurate reports. - System Prompt:
Information sent to the AI before user input to set the assistant’s behavior. - User Prompt:
The default input that the user provides to the assistant. - Group Restrictions:
Restrict access to certain groups. Groups are managed via User Management .
3. Scan Options
Scan Options allow you to control how and when your database values are scanned for inclusion in report generations:
- When to Scan:
- Scan when needed (cache has expired)
- Do not scan (use last scan)
- Always scan
- Cache Duration:
Determines how long the scanned data is kept before requiring a rescan. - Tables to Scan:
Select only the tables relevant to this Report Assistant.
Note: Scanning too many tables can fill up the context window and increase credit consumption.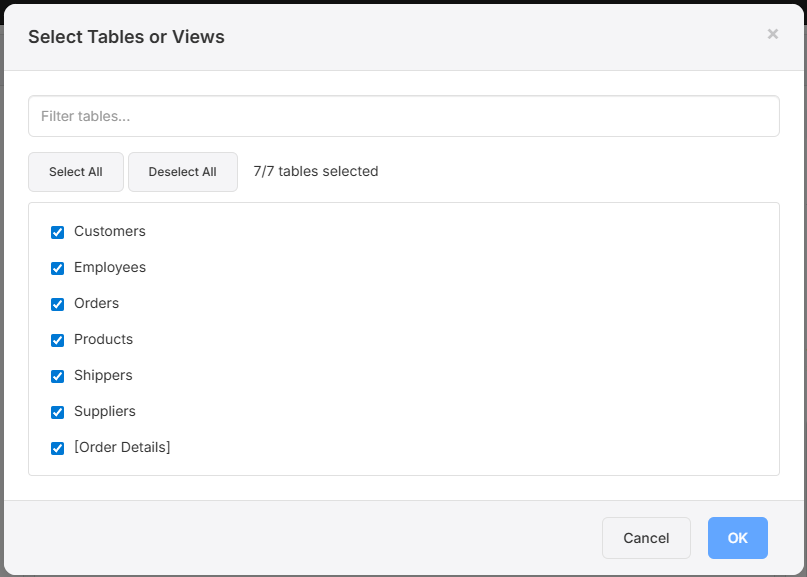
- Records to Scan:
Choose the number of rows to scan from each table. For optimal performance and accurate report generation, scan only a few representative rows.
4. Scanning and Saving
After configuring your scan options:
- Click Scan Data Now to initiate scanning.
- Save your configuration.
This creates your Report Assistant. You can access it by clicking Reports Assistant in the action buttons from the Item Details panel.
Ready to generate reports? Continue to Report Generation for more details.