Report Generation
Seal AI makes generating and customizing reports quick and easy with its integrated assistant.
Accessing the Report Generation Assistant
To start generating reports, you have two options:
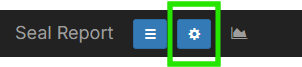
- Navigate to the Assistants menu in the navigation bar (the cog icon).
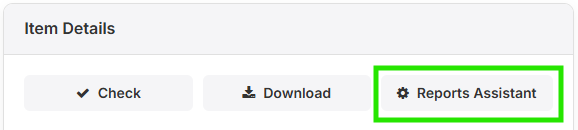
- Or, select a data source and click Reports Assistant in the Item Details panel.
Chatting with Seal AI
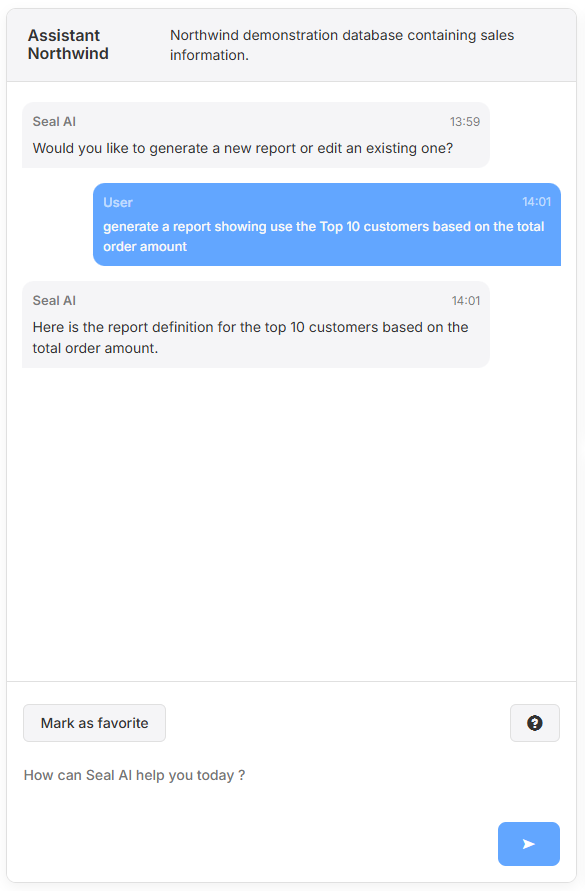
Once you're on the Report Generation page, you can chat with Seal AI and request the report you need.
Example:
If you’re connected to the Northwind database, you might ask:
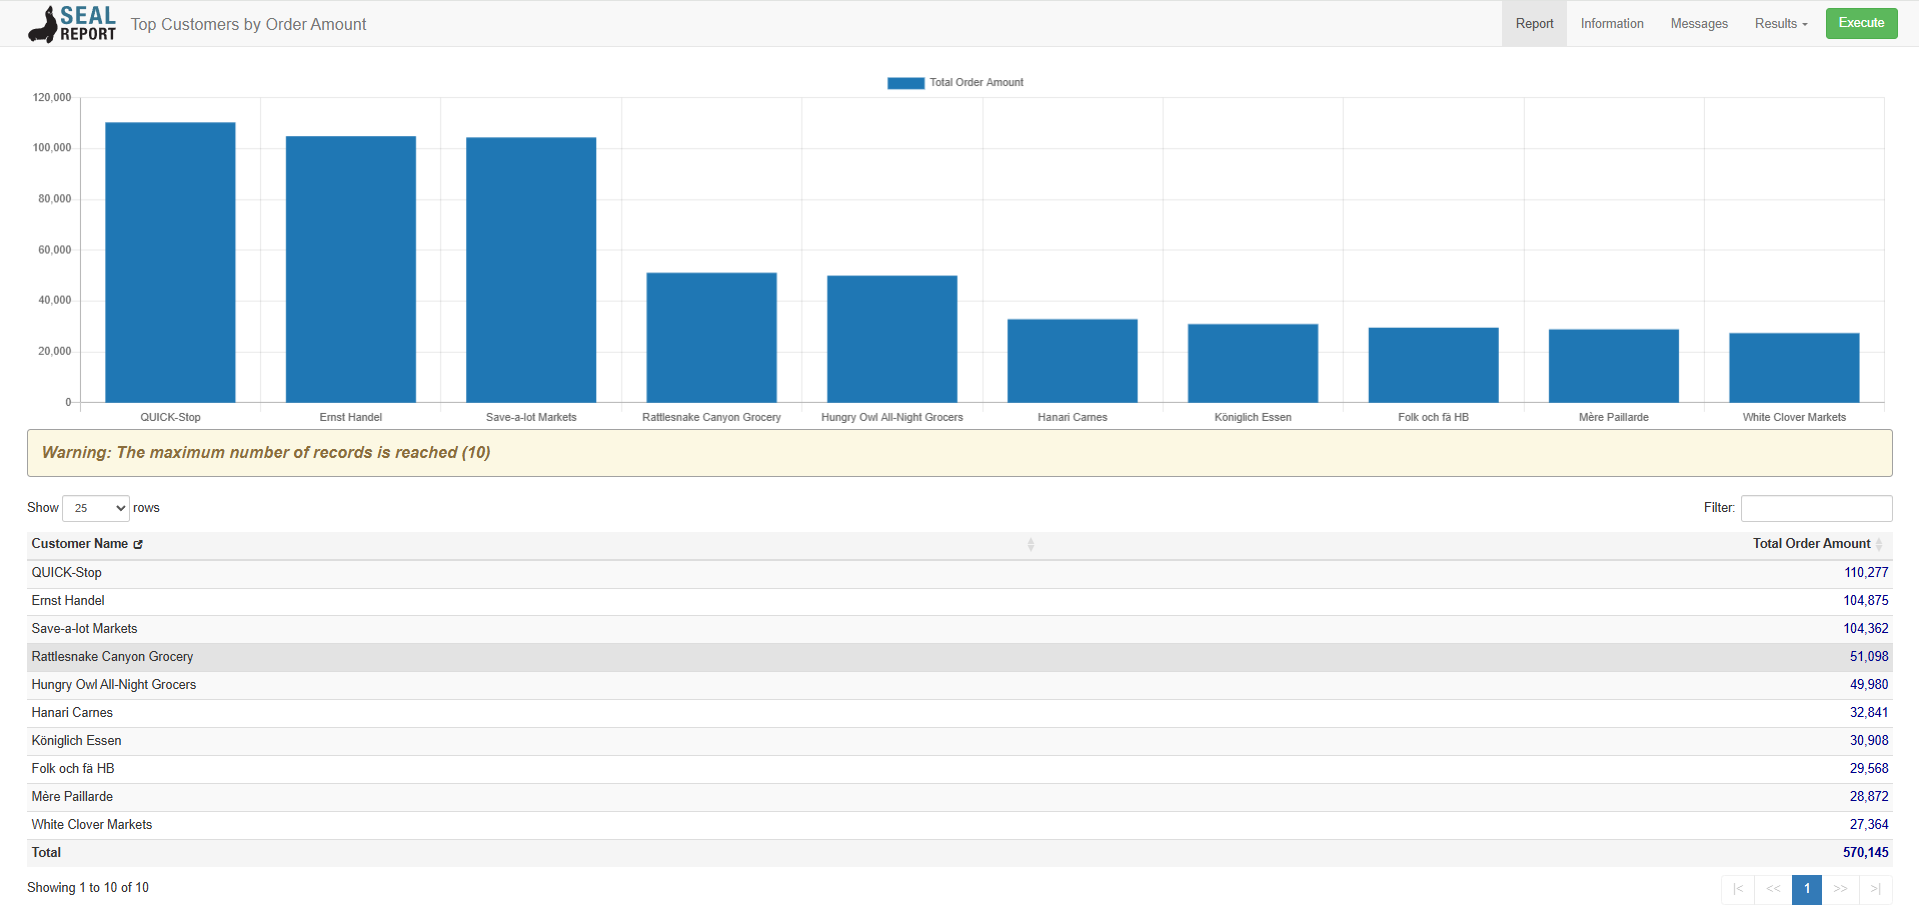
“Show me the Top 10 customers based on the total order amount.”
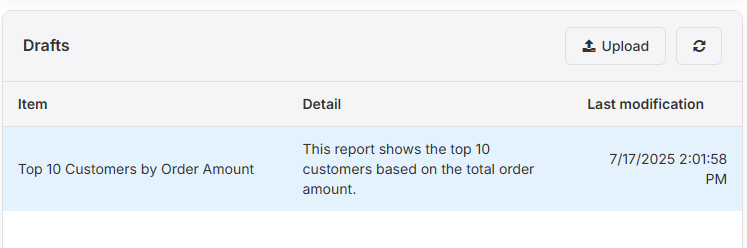
Seal AI will process your request and generate the report. When the generation is complete, the report will appear in the Drafts section.
Reviewing and Modifying Your Report
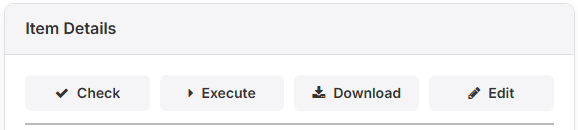
- Check Feasibility:
Click on the generated report to open the Item Details panel and use the Check button to verify that the report is viable. - Execute the Report:
Once verified, proceed to execute the report to view results.
Customizing Your Report
- If you need to modify the report (such as changing columns, sorting, or filtering):
- Go back to the Item Details panel.
- Click Edit to open the editor.

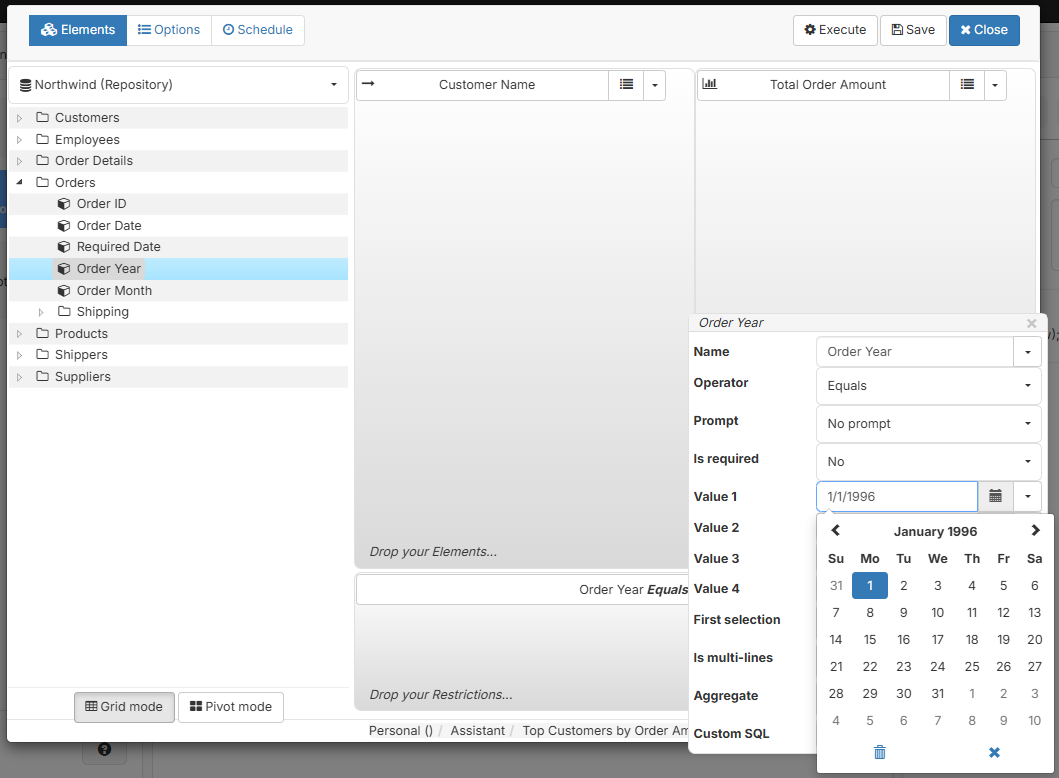
- In the editor, you can:
- Drag and drop elements
- Change sort order
- Add restrictions (e.g., set “Order Year Equals '1996'” to filter for a specific year)
- After making changes, execute the report again to see the updated results.
- Once satisfied, Save the report to keep it for future use.
Scheduling Reports
If you want to schedule the report (for example, to run every year):
- Edit the restriction (e.g., set “Order Year Equals ThisYear”).
- Go to the Schedule tab in the editor.
- Select the desired output type (e.g., Email).
- Fill in the required fields as needed.
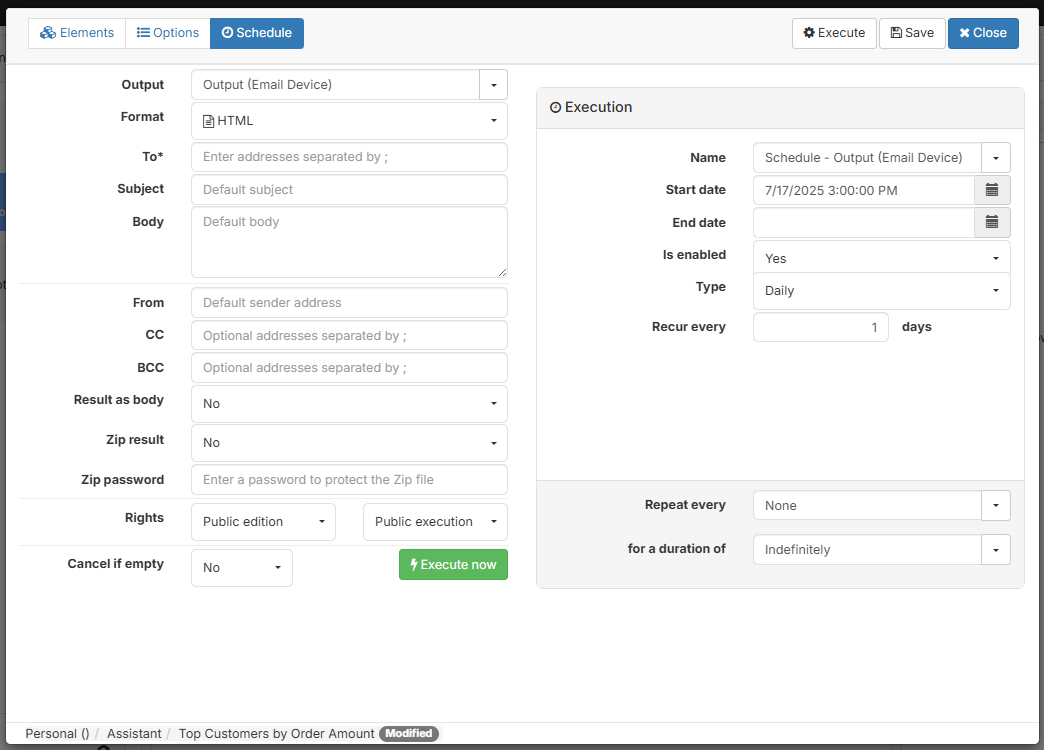
- Click on Execute and then Save the schedule.
More Advanced Editing
For a more detailed explanation of the report editor, including creating advanced templates and visualization options, visit:
https://sealreport.org/Reports